
Strawberry Frosted Heart-Shaped Brownies Recipe
Introduction
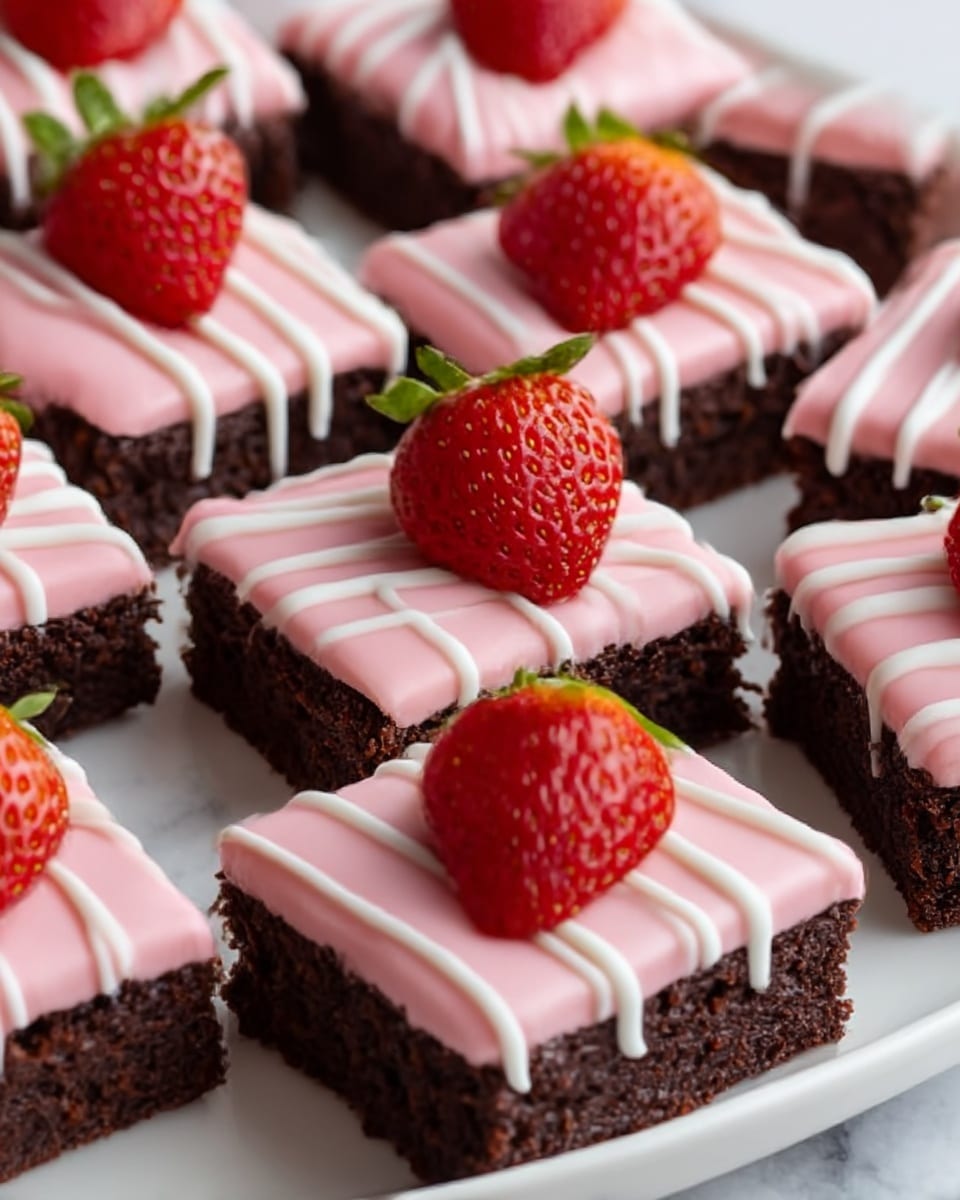
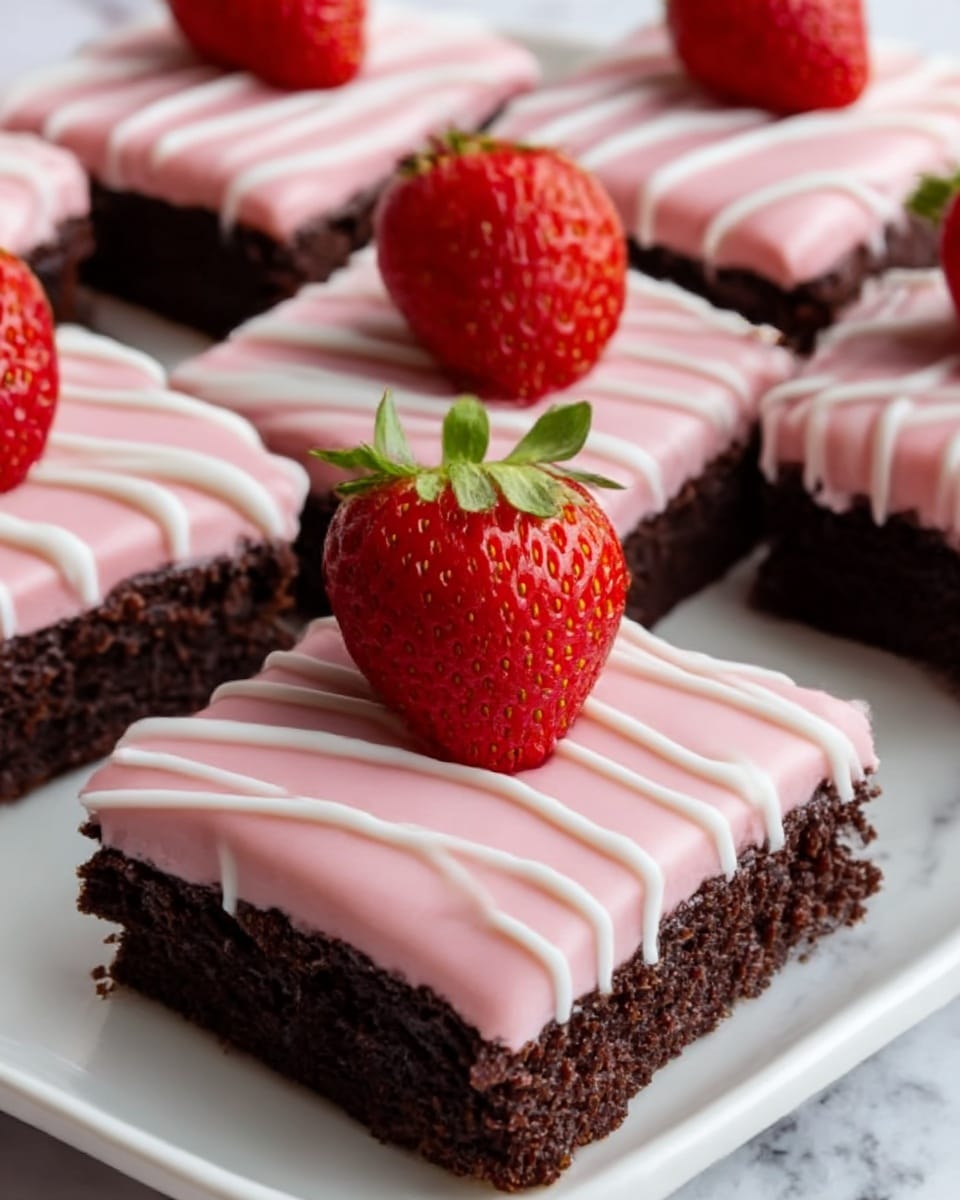
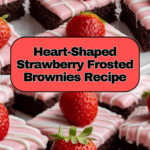
These Strawberry Frosted Heart-Shaped Brownies are a delightful treat perfect for any occasion. Rich, fudgy brownies get a sweet and fruity twist with a creamy strawberry frosting, shaped into charming hearts to impress your loved ones.
Ingredients
- 1/2 cup unsalted butter (melted)
- 1 cup granulated sugar
- 2 large eggs
- 1 teaspoon vanilla extract
- 1/3 cup unsweetened cocoa powder
- 1/2 cup all-purpose flour
- 1/4 teaspoon salt
- 1/4 teaspoon baking powder
- 1/4 cup unsalted butter (softened)
- 1 cup powdered sugar
- 1 tablespoon strawberry jam or puree
- 1–2 teaspoons milk (as needed)
- A few drops red or pink food coloring (optional)
- Sprinkles (optional, for topping)
Instructions
- Step 1: Preheat your oven to 350°F (175°C). Line an 8×8-inch baking pan with parchment paper or lightly grease it to prevent sticking.
- Step 2: In a large bowl, combine the melted butter and granulated sugar, stirring until smooth. Then add the eggs and vanilla extract and mix well until fully incorporated.
- Step 3: Stir in the unsweetened cocoa powder, all-purpose flour, salt, and baking powder until the batter is fully combined and smooth.
- Step 4: Pour the batter into the prepared pan and smooth the top evenly. Bake for 20–25 minutes or until a toothpick inserted near the center comes out with a few moist crumbs, indicating doneness.
- Step 5: Allow the brownies to cool completely in the pan before proceeding to cut and frost.
- Step 6: Once cooled, use a heart-shaped cookie cutter to cut out heart-shaped brownies carefully.
- Step 7: In a small bowl, beat the softened butter until fluffy. Gradually add powdered sugar and continue to beat until smooth.
- Step 8: Mix in the strawberry jam or puree, then add 1 to 2 teaspoons of milk as needed to reach your desired frosting consistency. Add a few drops of red or pink food coloring if desired for a vibrant look.
- Step 9: Spread the strawberry frosting evenly over each heart-shaped brownie. Optionally, add sprinkles on top for extra decoration.
Tips & Variations
- For a more intense strawberry flavor, gently warm the jam before adding it to the frosting.
- You can substitute fresh strawberry puree for the jam for a fresher taste.
- If you prefer classic brownies, simply omit the frosting and heart shapes.
- Add crushed nuts to the batter for a bit of crunch.
Storage
Store the frosted brownies in an airtight container at room temperature for up to 3 days or in the refrigerator for up to a week. If refrigerated, allow them to come to room temperature before serving for best texture. The frosting may firm slightly when chilled.
How to Serve
Serve this delicious recipe with your favorite sides.
FAQs
Can I use boxed brownie mix instead of making from scratch?
Yes, you can use a boxed brownie mix and then cut and frost the brownies as described, but making them from scratch allows more control over flavor and texture.
How do I prevent the brownies from sticking to the pan?
Line your baking pan with parchment paper or grease it well before adding the batter. This makes it much easier to lift out the brownies and cut them cleanly.
Print
Strawberry Frosted Heart-Shaped Brownies Recipe
- Total Time: 40 minutes
- Yield: 12 heart-shaped brownies 1x
Description
Delight in these charming Strawberry Frosted Heart-Shaped Brownies, a perfect treat combining rich, fudgy chocolate brownies with a sweet and fruity strawberry frosting. Ideal for celebrations or a special dessert, these brownies are as visually appealing as they are delicious.
Ingredients
Brownies:
- 1/2 cup unsalted butter (melted)
- 1 cup granulated sugar
- 2 large eggs
- 1 teaspoon vanilla extract
- 1/3 cup unsweetened cocoa powder
- 1/2 cup all-purpose flour
- 1/4 teaspoon salt
- 1/4 teaspoon baking powder
Strawberry Frosting:
- 1/4 cup unsalted butter (softened)
- 1 cup powdered sugar
- 1 tablespoon strawberry jam or puree
- 1–2 teaspoons milk (as needed)
- A few drops red or pink food coloring (optional)
- Sprinkles (optional, for topping)
Instructions
- Preheat and Prepare Pan: Preheat your oven to 350°F (175°C). Line an 8×8-inch baking pan with parchment paper or lightly grease it to prevent sticking, ensuring easy removal of brownies after baking.
- Mix Wet Ingredients: In a large bowl, combine the melted butter and granulated sugar, stirring until smooth. Then add the eggs and vanilla extract, mixing well until fully incorporated for a smooth, uniform mixture.
- Add Dry Ingredients: Stir in the unsweetened cocoa powder, all-purpose flour, salt, and baking powder until the batter is thoroughly combined and smooth, forming the base of your brownie batter.
- Bake the Brownies: Pour the batter into the prepared pan and smooth the top evenly. Bake for 20–25 minutes or until a toothpick inserted near the center comes out with a few moist crumbs, indicating the brownies are perfectly cooked but still fudgy inside.
- Cool the Brownies: Allow the brownies to cool completely in the pan on a wire rack. Cooling fully is important to ensure the brownies hold their shape when cut and frosted.
- Cut Heart Shapes: Once cooled, use a heart-shaped cookie cutter to carefully cut out heart-shaped brownies, creating charming individual portions perfect for sharing or gifting.
- Prepare the Strawberry Frosting: In a small bowl, beat the softened butter until fluffy. Gradually add powdered sugar while continuing to beat until the frosting is smooth and creamy.
- Add Flavor and Consistency: Mix in the strawberry jam or puree thoroughly, then add 1 to 2 teaspoons of milk as needed to achieve your desired frosting consistency. Add a few drops of red or pink food coloring if desired to enhance the frosting’s vibrant color.
- Frost the Brownie Hearts: Spread the strawberry frosting evenly over each heart-shaped brownie. Optionally, decorate with sprinkles on top for extra festive flair.
Notes
- For best results, ensure the brownies are completely cooled before cutting and frosting to prevent crumbling and melting.
- You can substitute strawberry jam with fresh pureed strawberries for a fresher taste.
- If you prefer a thicker frosting, reduce the milk amount or use cream cheese for added tang and creaminess.
- Heart-shaped brownies can be made using any cookie cutter shape to suit different occasions.
- Store brownies in an airtight container at room temperature for up to 3 days, or refrigerate for up to a week.
- Prep Time: 15 minutes
- Cook Time: 25 minutes
- Category: Dessert
- Method: Baking
- Cuisine: American
Keywords: strawberry frosted brownies, heart-shaped brownies, chocolate brownies, strawberry frosting, Valentine’s Day dessert, chocolate dessert, easy brownies

